
My daughter is a hospital nurse and currently, her floor and one other floor in the hospital are being used for COVID-19 rule-out/treatment patients. She is gowned from head to toe each time she enters a patient’s room. At the end of the day, they remove their protective gear which includes removing their disposable scrub caps. Removing these scrub caps then gives the possibility of transferring any germs that may have been on the cap onto their hair. To combat this possibility, she requested that I make her scrub caps to wear underneath her disposable caps.
I tried another scrub cap pattern, but I thought it looked more like a chef’s hat and not what I was looking for. I came upon Rob Appell of Man Sewing’s instruction video for making a scrub cap and I decided to give it a try.
Click on the link below to watch his video…
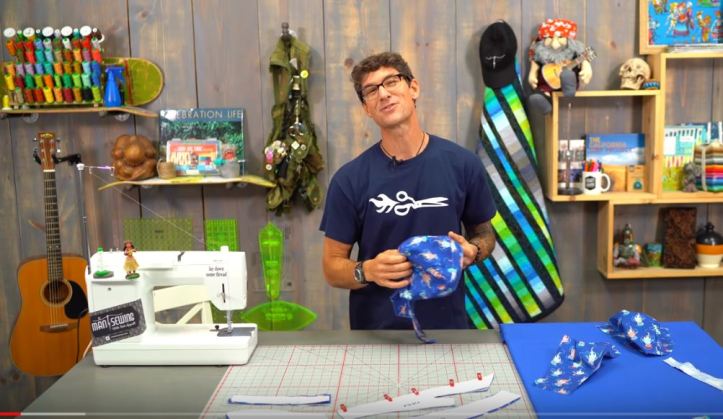
https://www.youtube.com/watch?v=ZykGWQ6iNuQ
and
Click here: https://www.missouriquiltco.com/land/mansewing/scrub-cap/assets/skully-cap—final.pdf to download his pattern.
I have a problem that I almost always have to see written instructions. I watched his video several times trying to follow his directions and even wrote them down but still, I found that I had to repeatedly go back and rewatch certain parts. Hopefully, if you have some of the same questions I did, this post will help.
Cutting instructions:
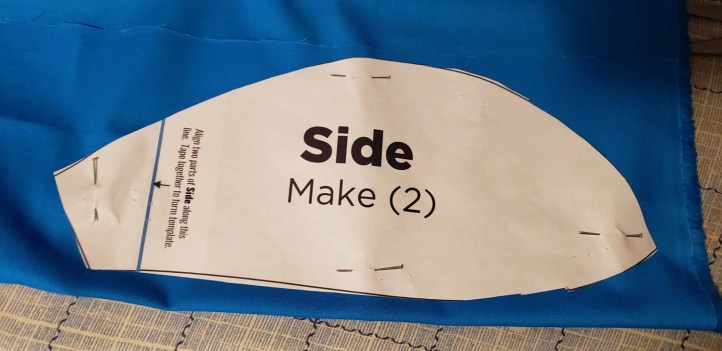
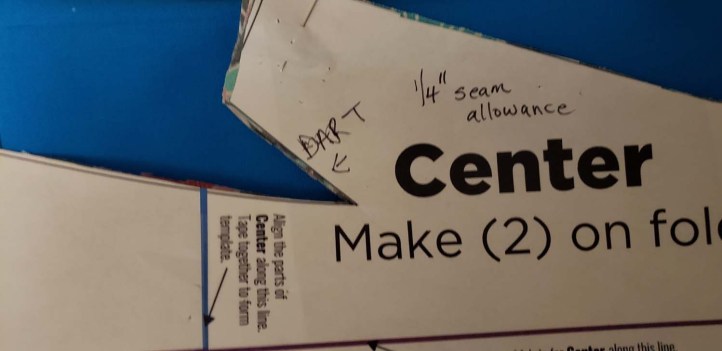
The first thing you will notice when you download his pattern is that it must be taped together to make the pieces in the correct size.
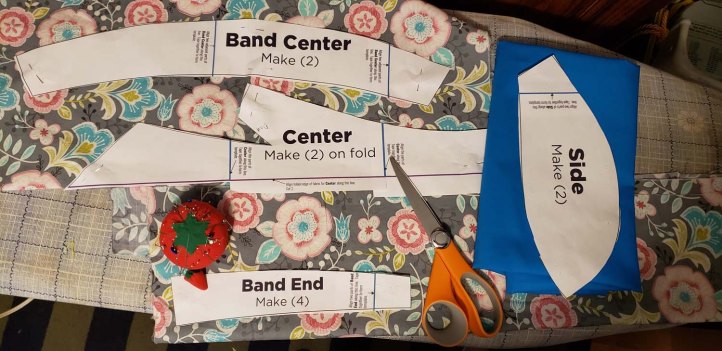
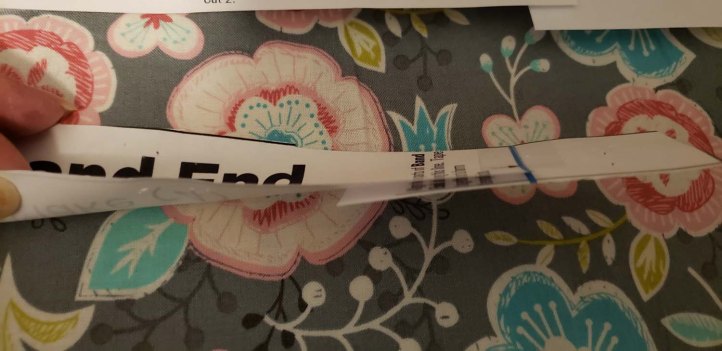
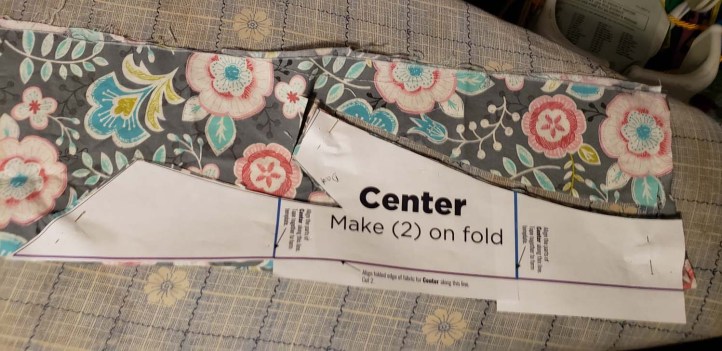
You will need to cut two separate centerpieces lengthwise on the fold of the fabric and four band ends.

and two sides.
Sewing: All seams 1/4″ seam allowance
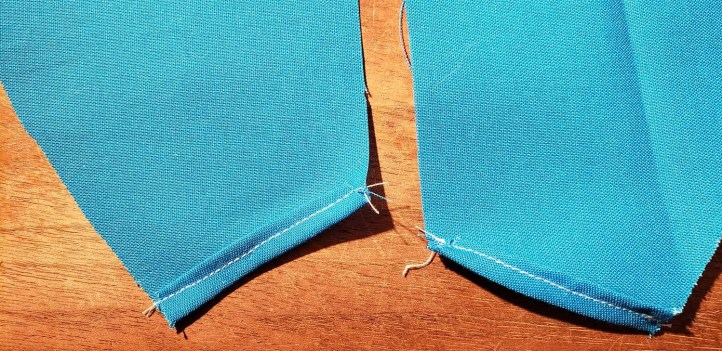
The first step, sew the darts in the center
Make small roll hems at the bottom of the oval centerpieces.
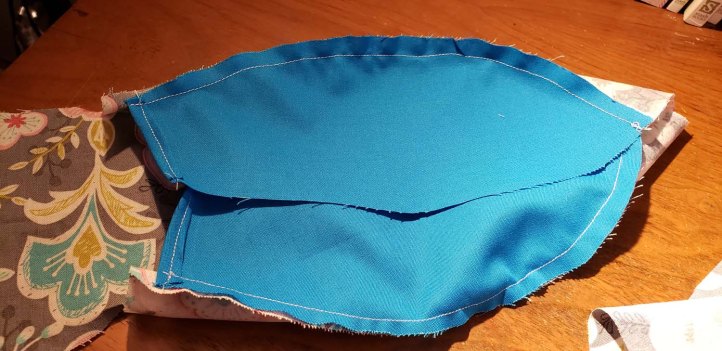
Sew the oval side pieces, right sides together (with hem on the right side) along the center piece easing the fabric around the curves.

Sewn cap center with sides.

Fold side centers toward the middle of top center:
Place the second (lining) top center piece onto the first pieced set, right sides together and sew all pieces together, including the tail. The tail end was the place I found I had the most difficulty. I couldn’t follow what Rob was talking about when he said not to do something (?) with the “I” or “eye” when it came to the intersection of the side with the tail. After some mistakes, I finally realized what he was saying was the hemmed edge of the side piece which is the “double stuff” of this fabric sandwich, must be kept above the new seam. Although you can’t see the rolled hem of the side center (because it’s inside the cap top and lining edges of the cap), the edges of the hem are above the 1/4″ seam allowance for this part of the cap. That way, when you turn this piece right-side out, that rolled hem is still free and not caught in the seam. You first sew the horizontal seam just to the intersection with the vertical seam of the tail. You can see I have pinned the seams out of the way. After you have reached the intersection, stop sewing. Remove the pins holding the seam edges and fold the seams in the opposite direction. Now, begin sewing the vertical seam at the end of the horizontal seam.
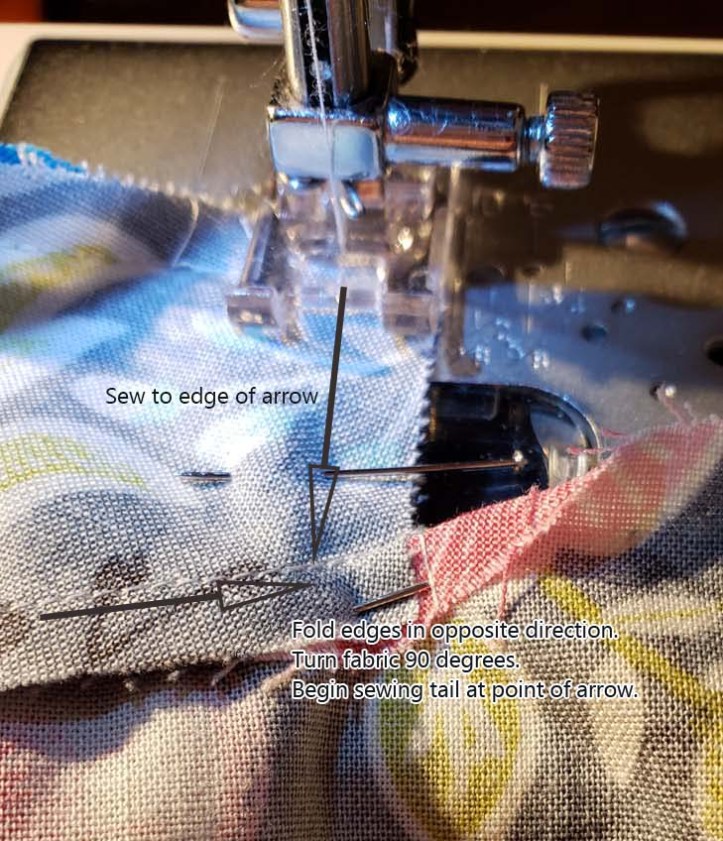
This is what that intersection looks like when it is turned right side out.
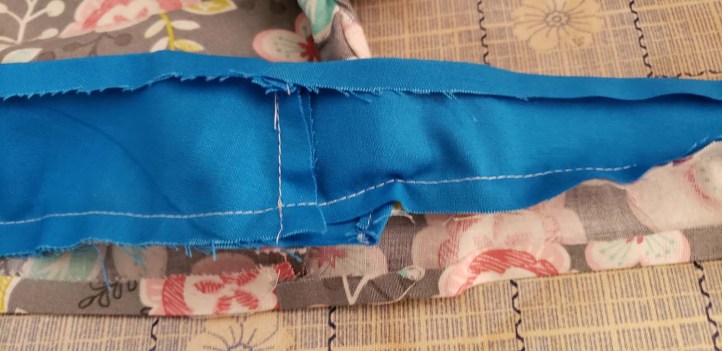
The rest of the video is pretty self-explanatory. Once you sew the two ends of the band pieces to the band (you will have two sets of the completed bands) you make another “double stuff” sandwich with the band and the cap. Place the first band right side up. Pin the cap right side down to the band and pin the top band right side down on top of the cap.
In Rob’s video, he sews almost the entire band, both top and bottom the band at one time. The first time I tried this, I found that trying to turn the small ties right side out was very time-consuming. In his video, he states that the more of the band you sew together, the less you will have to close with topstitching. As I said, I found this to be difficult and time-consuming so instead, I only stitched the top seam and then pressed a less than 1/4″ hem on to the bottom edge of the band.
After pressing the turned-up hem on the bottom band, I bought the right sides of the band together and sewed the ends of the tie.
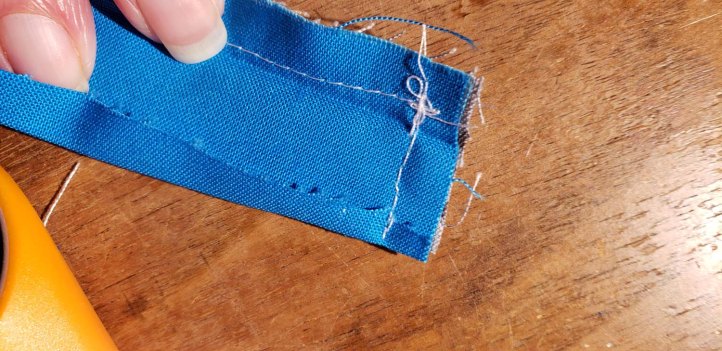
I then turned band so the wrong sides were together and topstitched the bottom edges of the band together keeping the edges even (mostly).
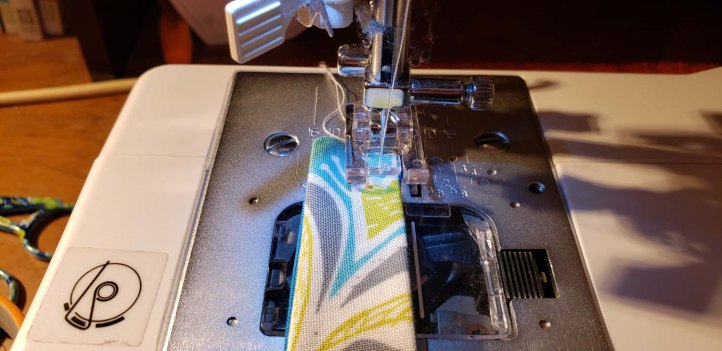
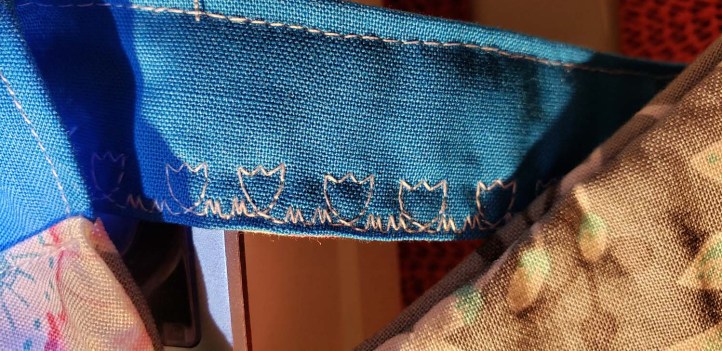
I continued to topstitch all the seams and decided to use one of my machine’s decorative stitches to add a little fun to the cap.
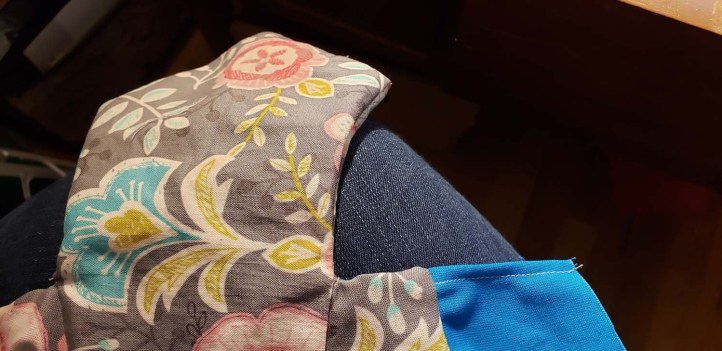
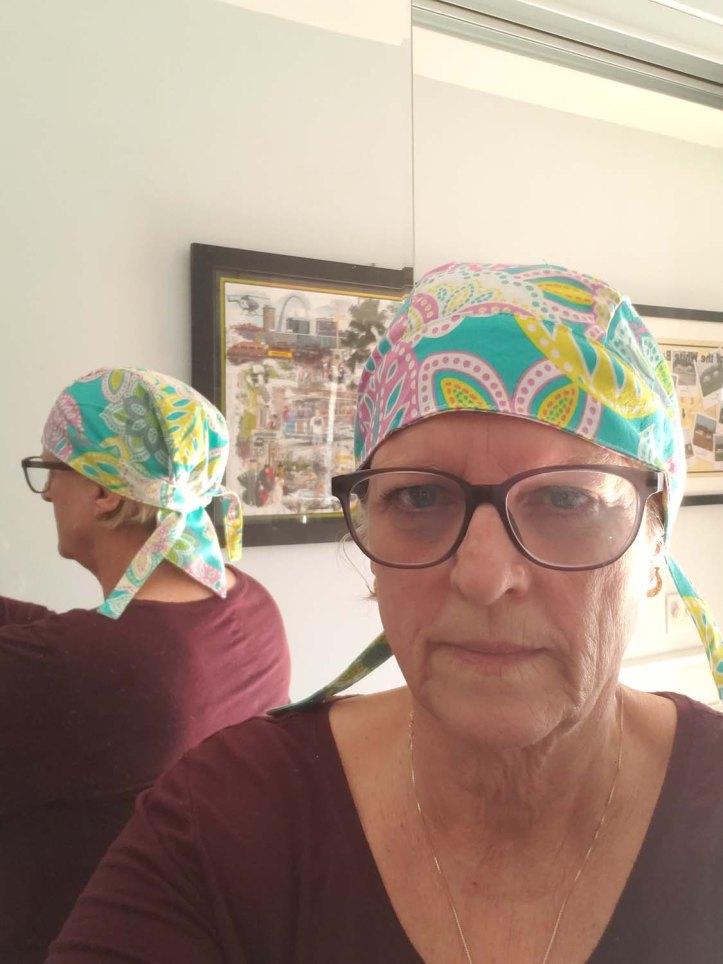
I’m not the best cap model, but this is how a finished one looks.
My daughter mentioned that she wasn’t sure about the tail so I came up with this modification. I cut off the tail about 1/2″ below the rolled hem, removed the top stitching and turned the edges of the tail inside the cap. I stretched elastic along the bottom edge of the cap between the sides of the band to gather it a bit.


[…] was able to find a pattern I liked that fit well, so I ended up making quite a few of them. All her co-workers who saw her cap […]